How to Apply the Same Filter to Multiple Photos Without Making Them Look Identical
Batch editing should create a shared visual language, not force every photograph into the same exposure and color balance. The solution is to separate the creative look from the correction each image needs.
Why the same filter produces uneven results
A filter is a set of changes applied to whatever pixels are already present. If one image is underexposed, another is lit by a warm lamp and a third is photographed in cool shade, the filter starts from three different baselines. A warm preset may flatter the shaded image, push the lamp-lit image into orange, and make the dark image feel muddy.
The common mistake is treating “same settings” and “same result” as identical goals. They are not. Consistency comes from preserving the same creative decisions—contrast character, color direction and texture—while allowing small corrective differences.
Use one shared look for the series, then permit each photo to recover its own believable light.
Step 1: choose an anchor image
Pick the photograph that best represents the final series. It should have usable highlights, readable shadows, a representative subject and reasonably neutral color. Avoid choosing the most dramatic frame; it may be an outlier that encourages an extreme grade.
Edit this anchor until the mood feels right. Decide what matters most: gentle skin tones, faded film contrast, cool architecture, warm afternoon light or crisp monochrome structure. Write down three constraints. For example: “warm highlights, neutral white clothing, soft shadows.” These become the rules for the rest of the set.
Step 2: normalize the inputs before adding style
Make quick corrective passes before applying the creative filter. You do not need every image to match perfectly; you only need to remove differences that would make the filter behave unpredictably.
Correct exposure first
Compare faces, white objects or other repeated subjects. Bring them into a similar brightness range. Protect important highlights instead of raising every image to the same histogram position. A night photograph is allowed to remain dark.
Correct obvious white-balance shifts
Use objects that should be neutral—white sleeves, gray walls, paper or clouds—as references. Remove accidental green, orange or blue casts, but preserve intentional ambient color such as sunset warmth or neon light.
Reduce extreme contrast differences
If one frame has crushed shadows and another is flat, bring both toward a workable middle ground. The shared filter can then add its contrast character consistently.
Step 3: apply the filter as a creative layer
Apply the chosen filter to the full selection at a moderate intensity. Starting around 60–80% is often safer than beginning at maximum strength. Look for whether the signature qualities survive across the batch: the same warmth, black point, saturation restraint or grain texture.
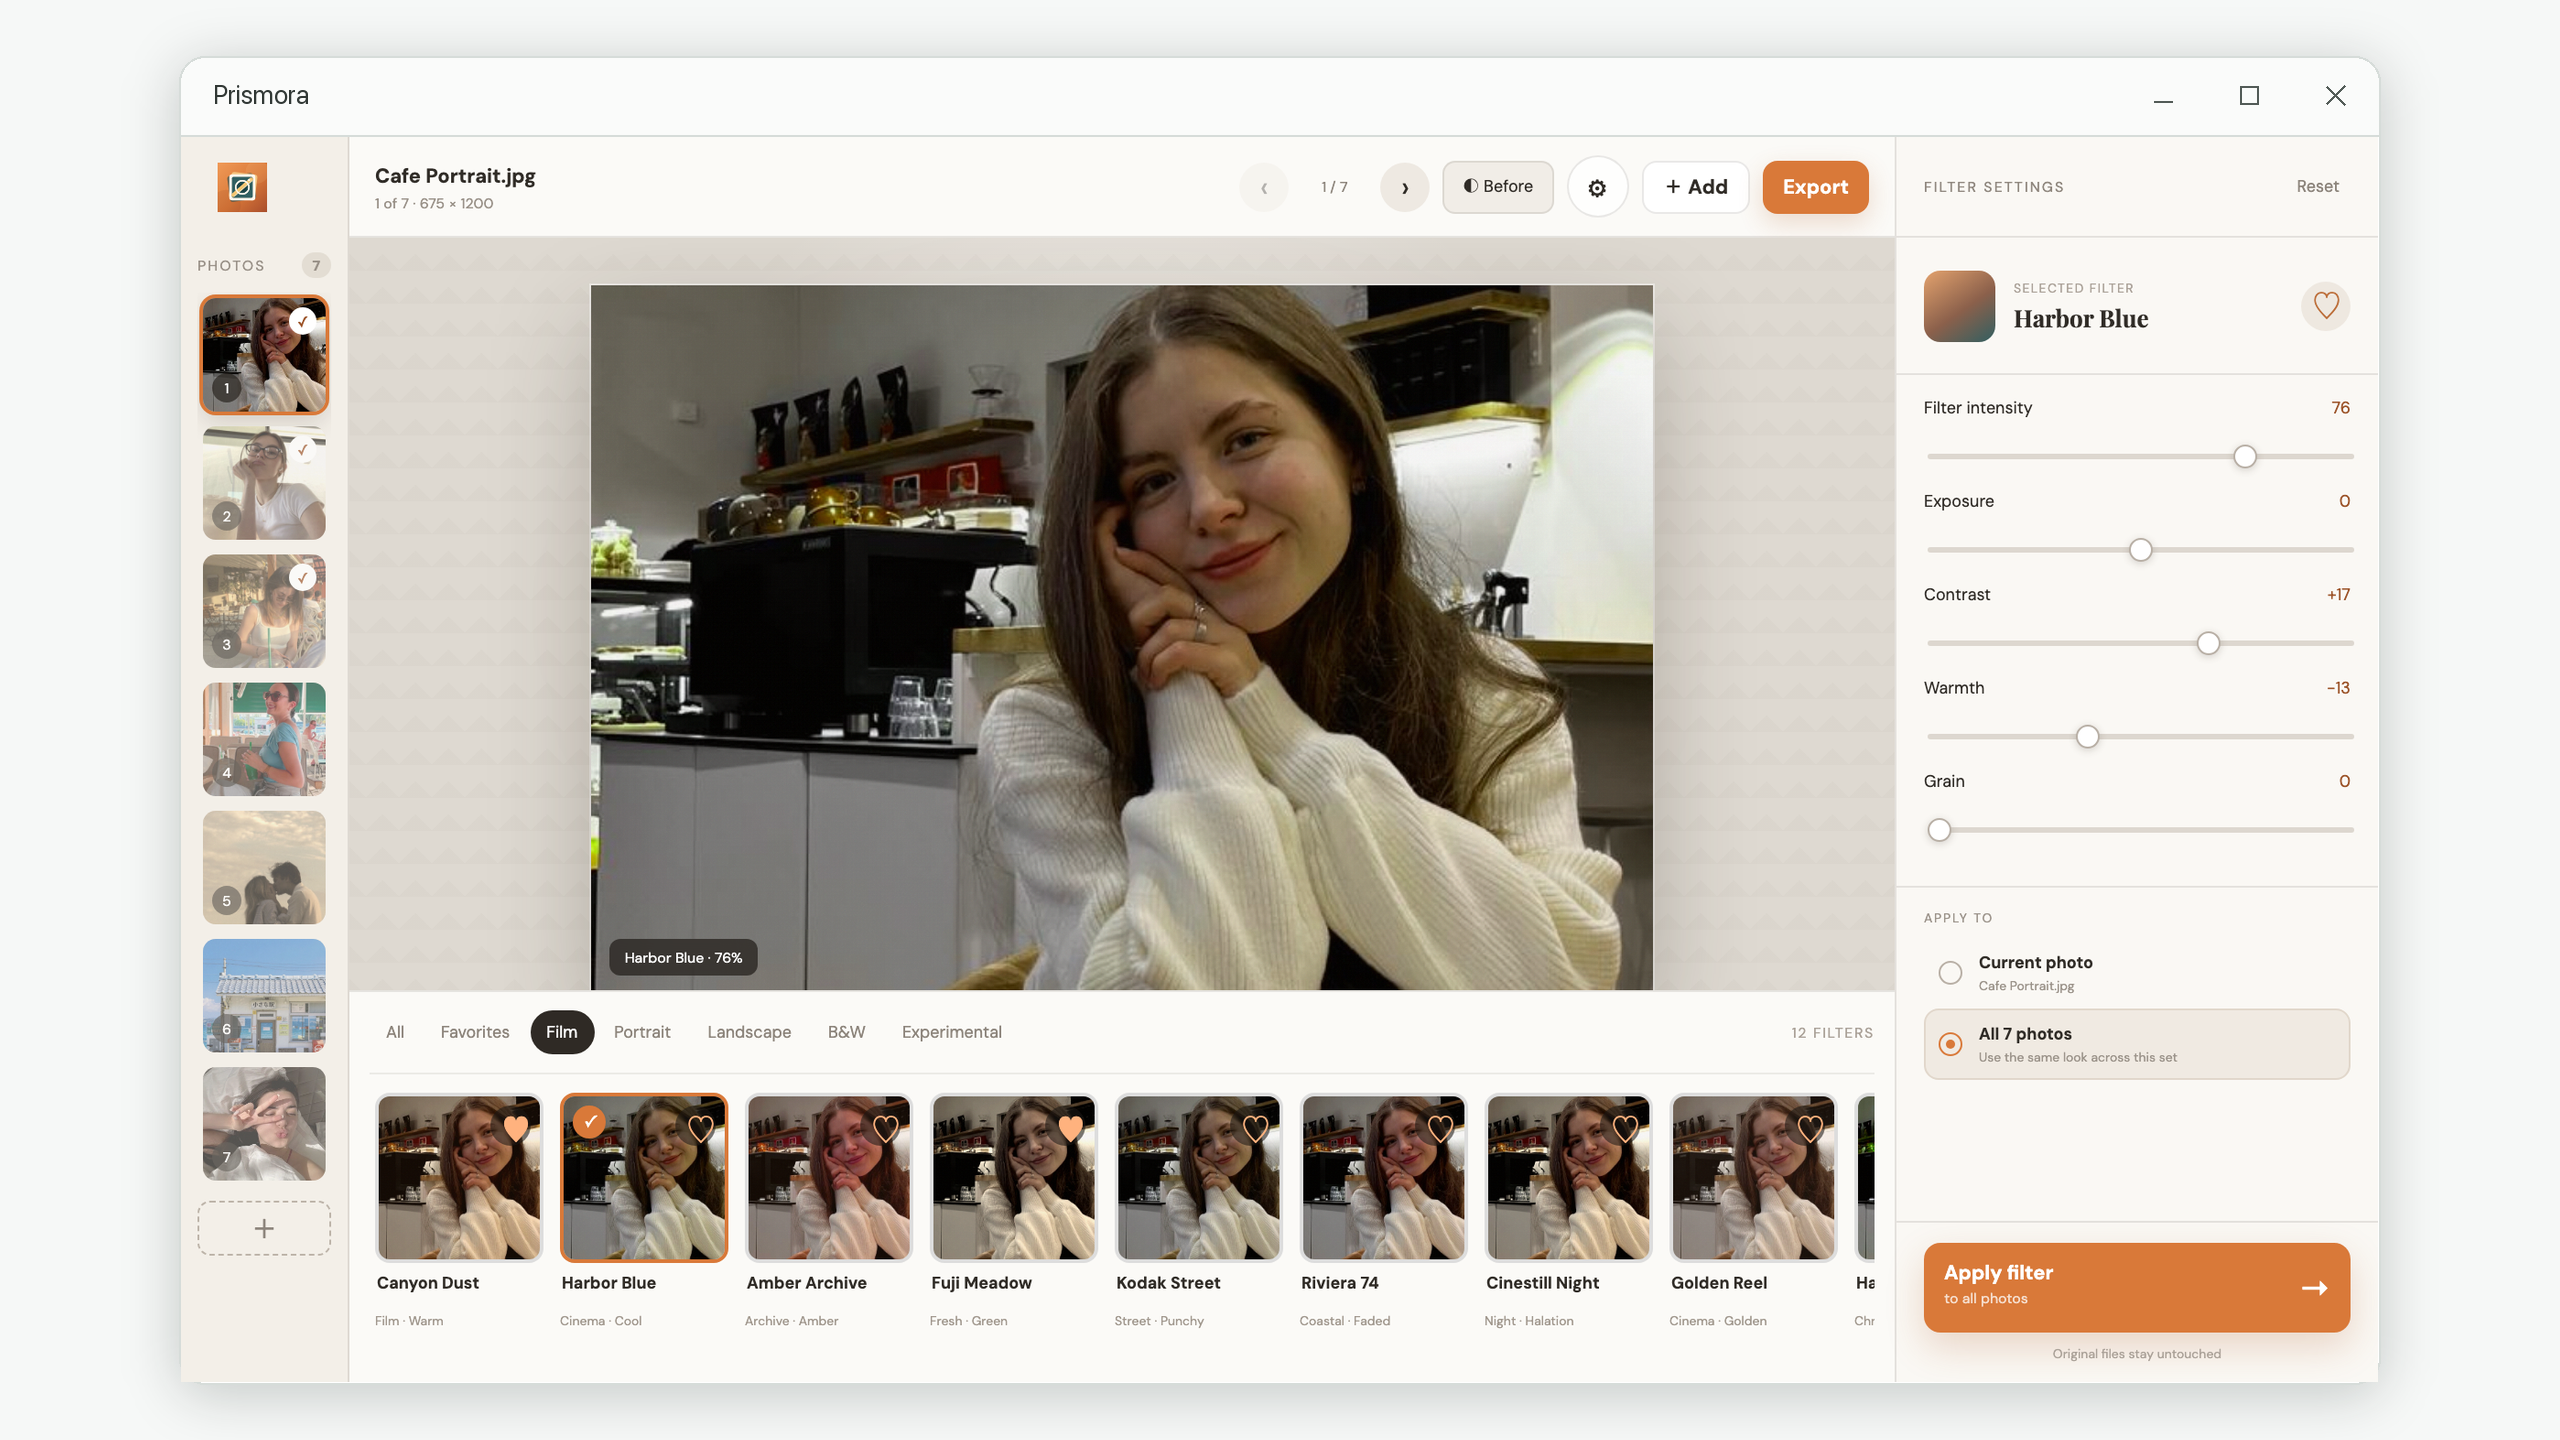
In Prismora, select “All photos” in the Apply To panel, choose the look and apply it once. This is the speed advantage of batch editing. The same principle works in any editor that can synchronize settings.
Where automation should stop
After the shared look is applied, switch to individual photos only for exposure, white balance and occasional intensity corrections. Do not redesign the grade image by image, or the series will drift again.
Step 4: review the sequence, not isolated images
Thumbnail view exposes inconsistency faster than zooming into one photograph. Arrange the images in their intended order and scan for sudden jumps: one face turning orange, one frame becoming much darker, or a single green background becoming fluorescent.
Fix the outlier, then return to sequence view. Make the smallest correction that restores continuity. If more than a third of the set needs major repair, the shared filter is probably too strong or the input photographs need better normalization.
Batch editing checklist
- Choose one representative anchor image.
- Define three visual rules for the series.
- Normalize exposure and accidental color casts.
- Apply one filter at moderate intensity.
- Review thumbnails in sequence.
- Correct only the outliers.
- Export copies and preserve the originals.
The result to aim for
A successful batch does not make every image interchangeable. It makes them feel as if they belong to the same photographer, afternoon, campaign or story. Viewers should notice the sequence before they notice the preset.